In this series, I want to describe and share how I handle my physical pictures and scan and store them digitally.
Part 1 will be about the scanning process itself and part 2 about storing and categorising the files.
The scanner
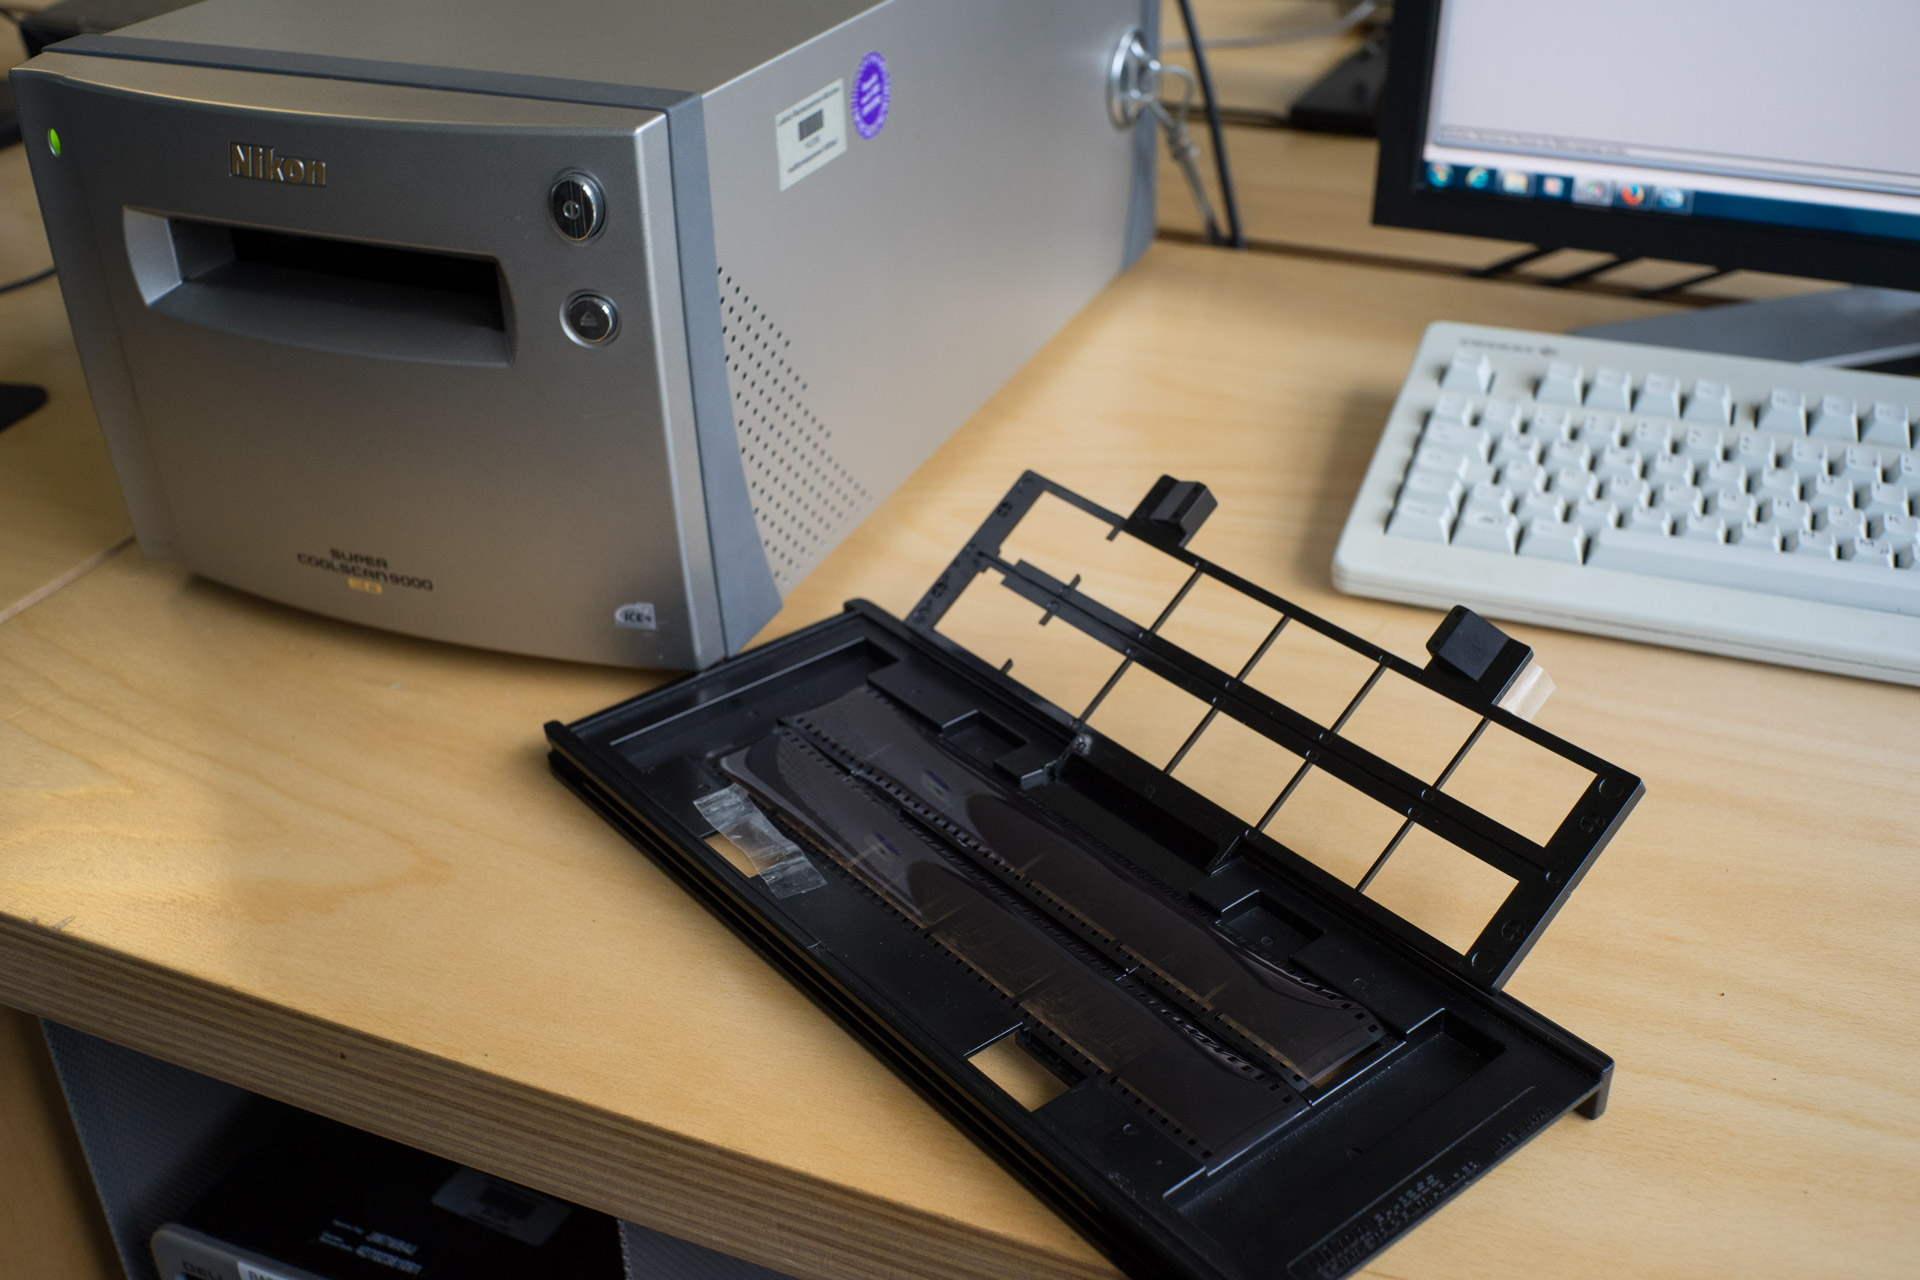
I’m fortunate enough that I have access to a film scanner at the school I’m studying at. Actually, I have only once seen someone else use it, so I live in constant fear that they will get rid of it… The scanner is a Nikon Coolscan 9000 ED, which is kind of old but still produces incredibly good looking scans. However, lately it seems to have developed a problem when dealing with large solid colour areas, which appear to have vertical stripes across them (in the form of slight but noticeable luminance variations). That issue is very annoying and not easily fixable in post unfortunately. Apparently I am not the only one with the problem but as it is not my scanner I cannot do anything about it…

The selection
A few years back I have adopted the mentality to discard as many pictures as possible before committing them to long term memory (included in backups and so on). That actually also brought me to me to film photography, as I generally take a lot less “useless” pictures with film cameras. Nevertheless, when scanning negatives I always try to pick the pictures I want to scan upfront, either by looking at a contact sheet if I made one, or by looking at cheapo lab preview prints for colour negs. Most of the time I will scan around 20 pictures from each roll of film, which is still too much but I’d still rather scan a few pictures too many than having to scan a roll of film again.
The workflow
Generally my scanning workflow is pretty straight forward. I try to optimise my scans as much as possible on the spot to avoid having to deal with annoying fixing in post later. Therefore, I make sure that my negatives are as flat as possible and clean before scanning. This is especially important for black and white negatives as the scanner’s automatic dust removal feature only works on colour negatives or slides. To keep the negatives flat, I generally press the negative holder against the negatvies and then apply some tape so that it stays in place as tightly as possible.

Then, I will set the appropriate settings on the scanner in Nikon Scan 4.0 which give me the best possible (meaning: most information retrieved per negative) scan results. Thus, I scan in 16bit, with ICE enabled for colour negatives/slides but without enabling multiple scans / fine scans as I found that they provide very little benefit but increase scanning times significantly. The other settings are left at default, except for the negative specific ones such as orientation. In the end, I save my scans as TIF. While the Nikon Coolscan 9000 ED has the option to save the output as Nikon Raw File (.NEF) and the NEF does offer the same quality at a significantly smaller file size, it is not possible to retouch the NEF file without saving it to a TIF. Also, I am more confident in the longlivity of TIF files as opposed to Nikons NEF support.