Recently I had some time to dive back into my library of shots. In particular, I was looking at images depicting snowy scenes for inspiration as it’s going to be winter soon.
As soon as I realised that there’s going to be quite a bit of snow, I opted to shoot black and white film for most pictures. I still had Kodak TMAX400 and TMAX100 in stock which I shot at stock speeds and pushed to ISO1600.
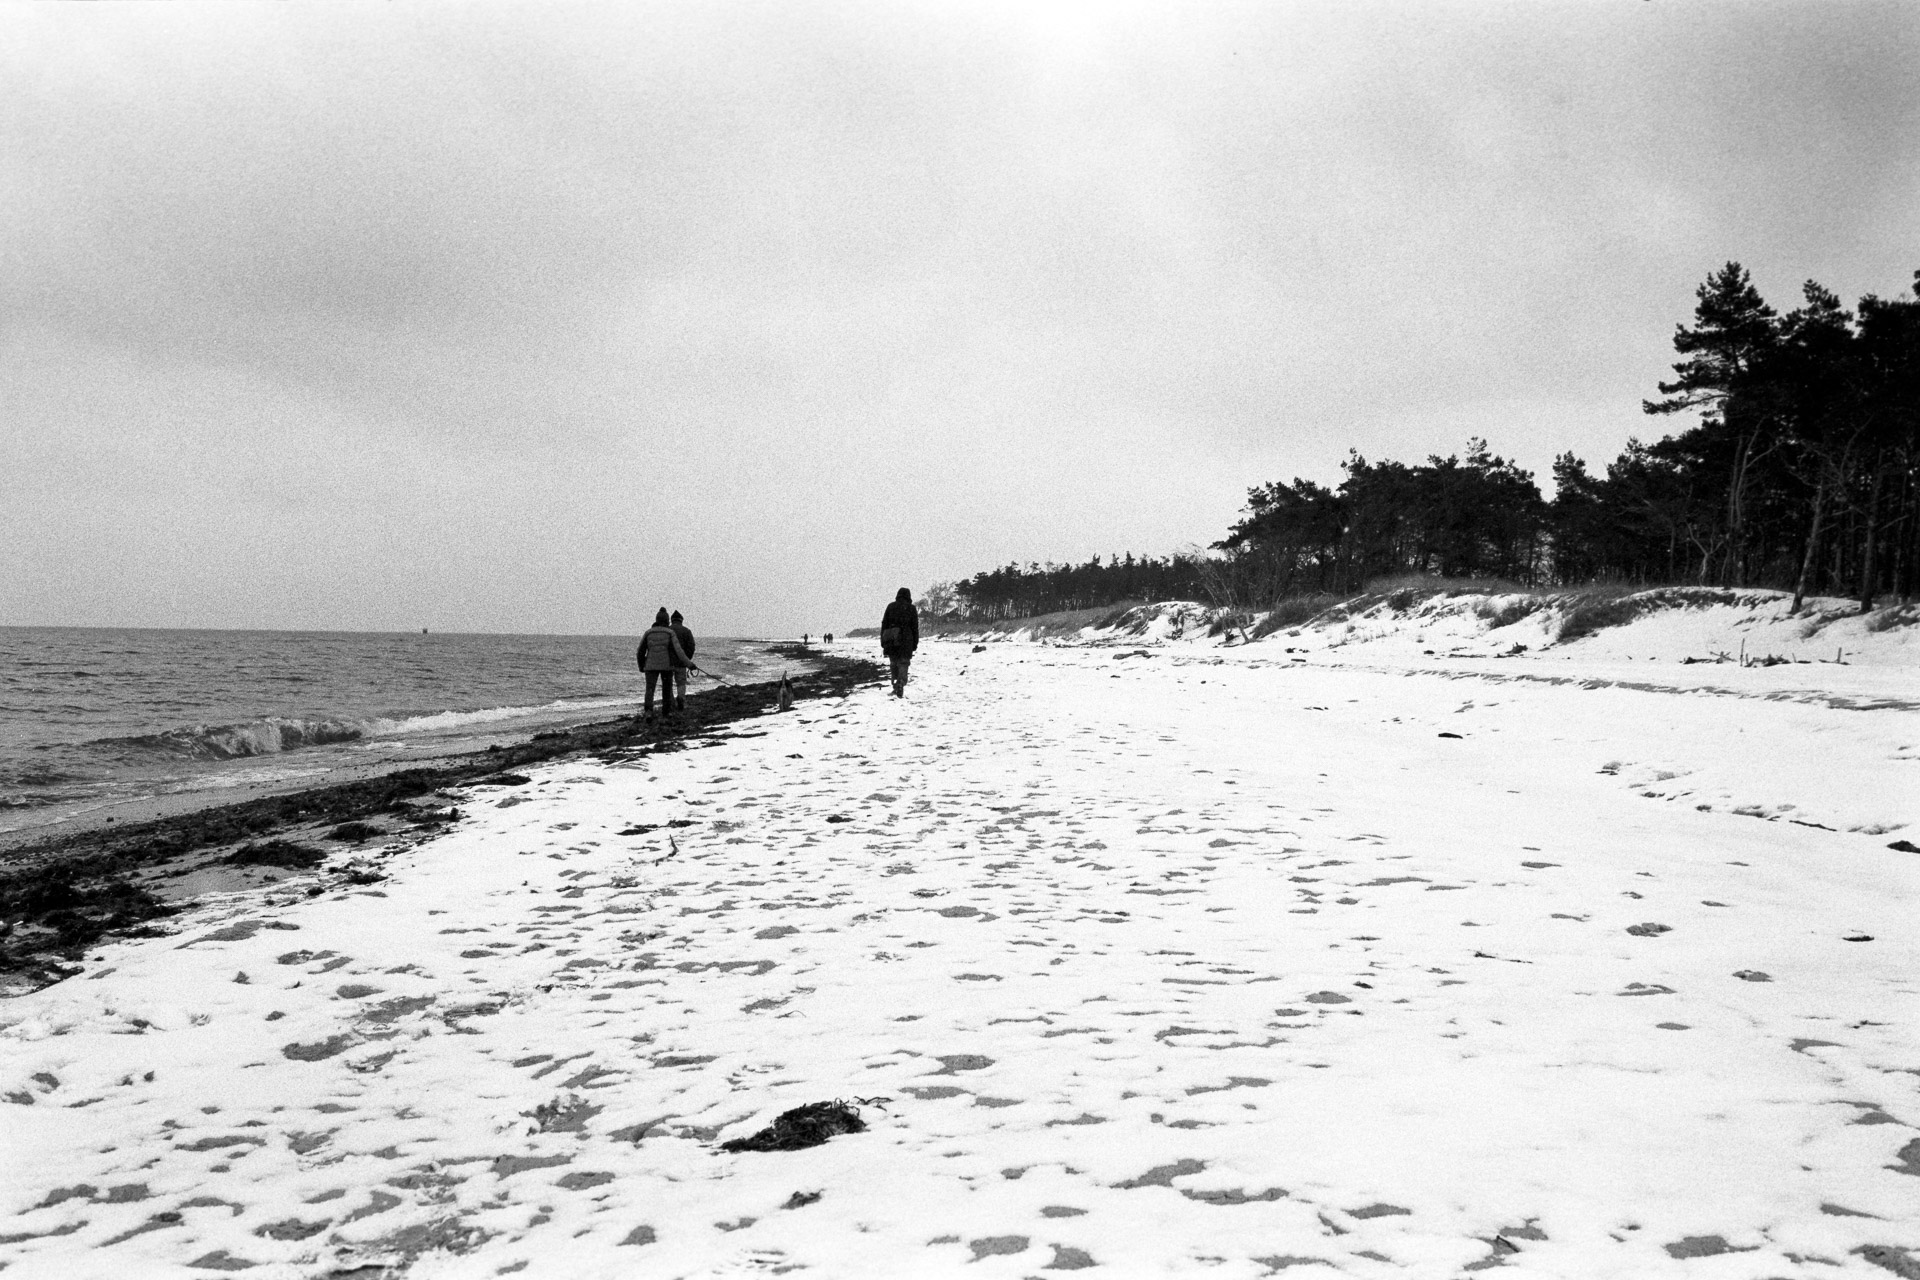
The “Weststrand” on the Darss. Translates to western beach. Shot on TMAX400.
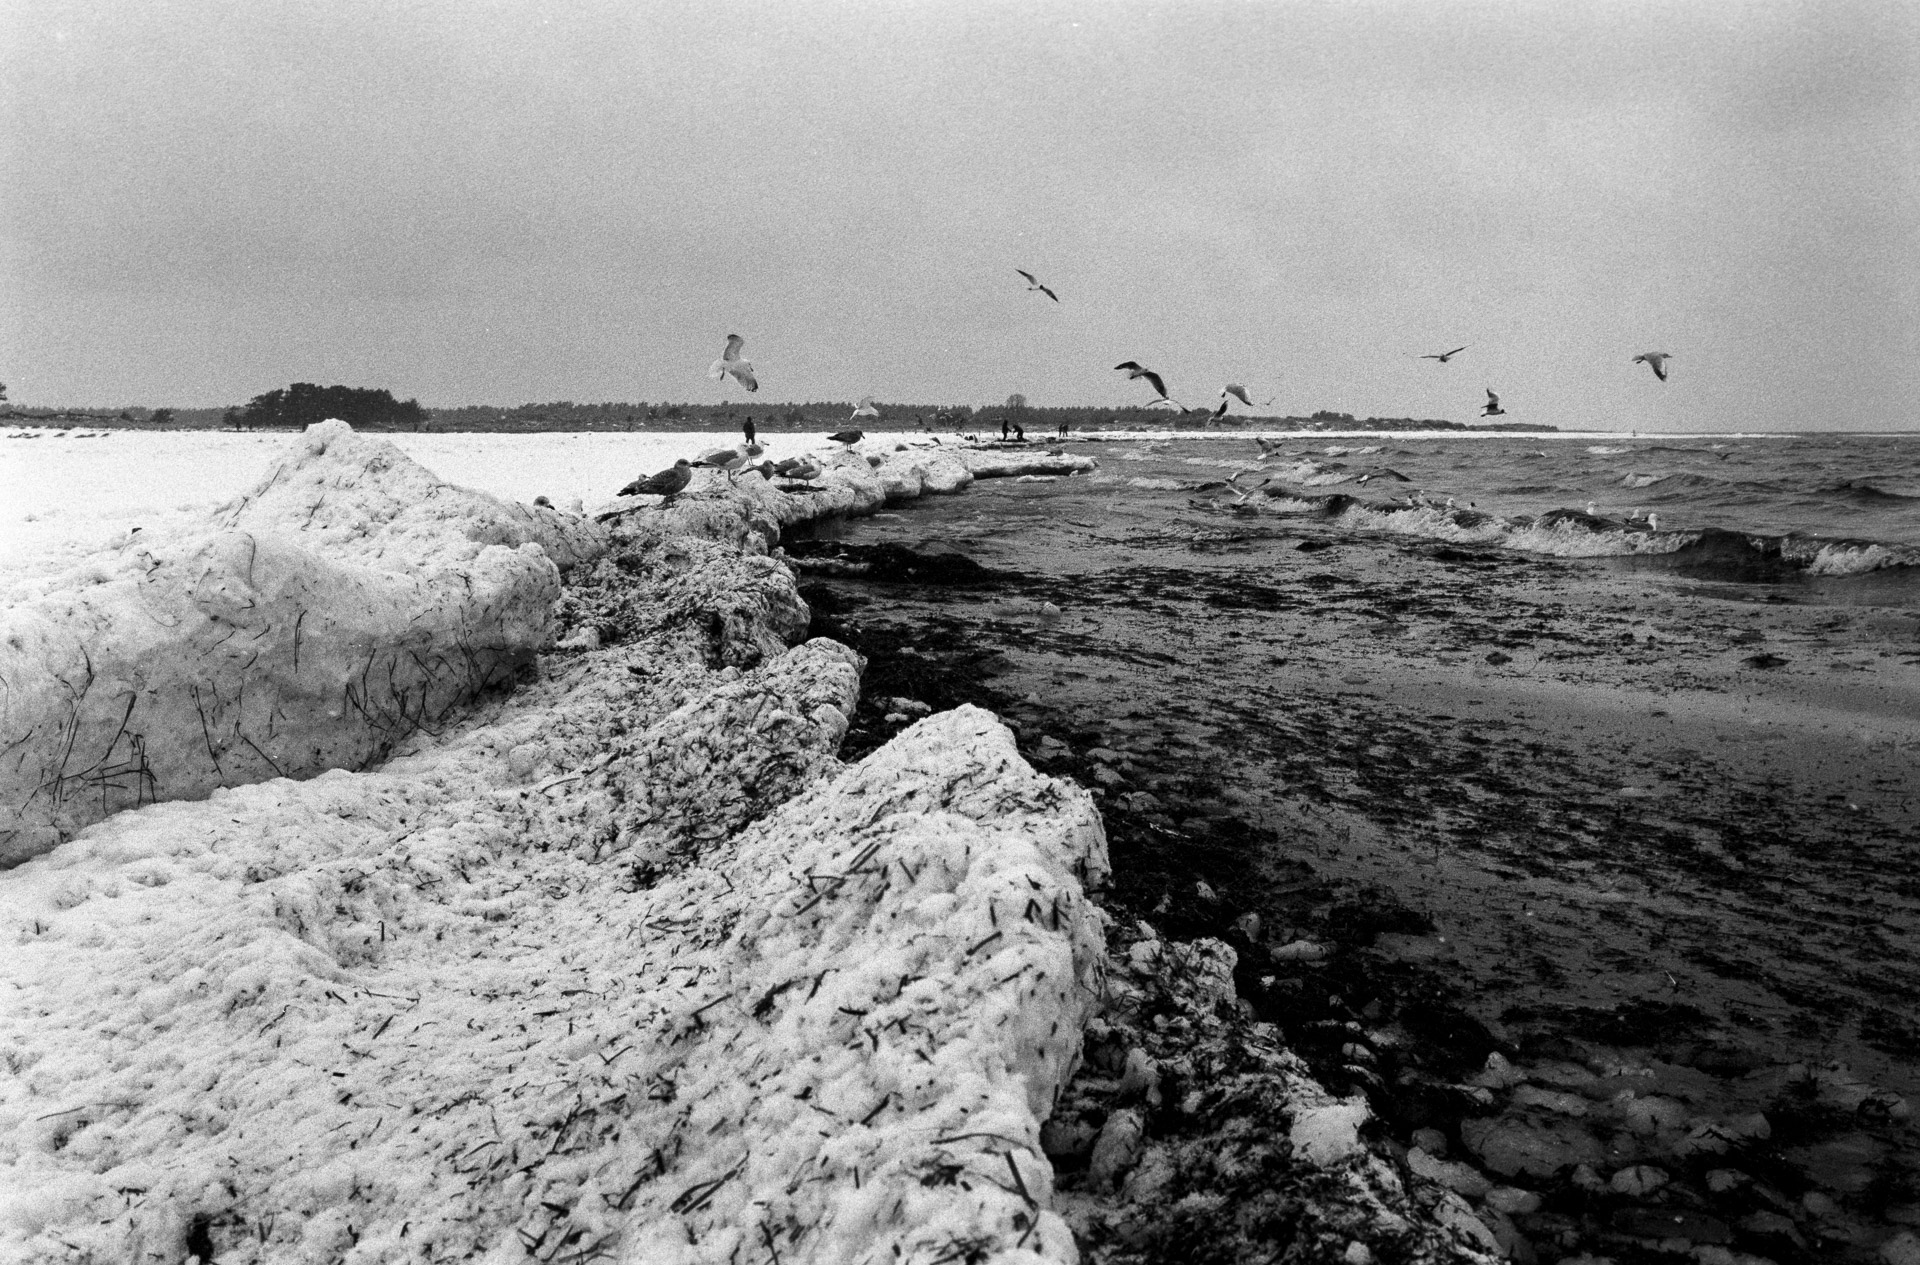
I often spend the Easter holiday with my family on the Darss, a peninsula in the Baltic Sea in eastern Germany. Usually there is no snow whatsoever at Easter, but 2013 was decidedly different.
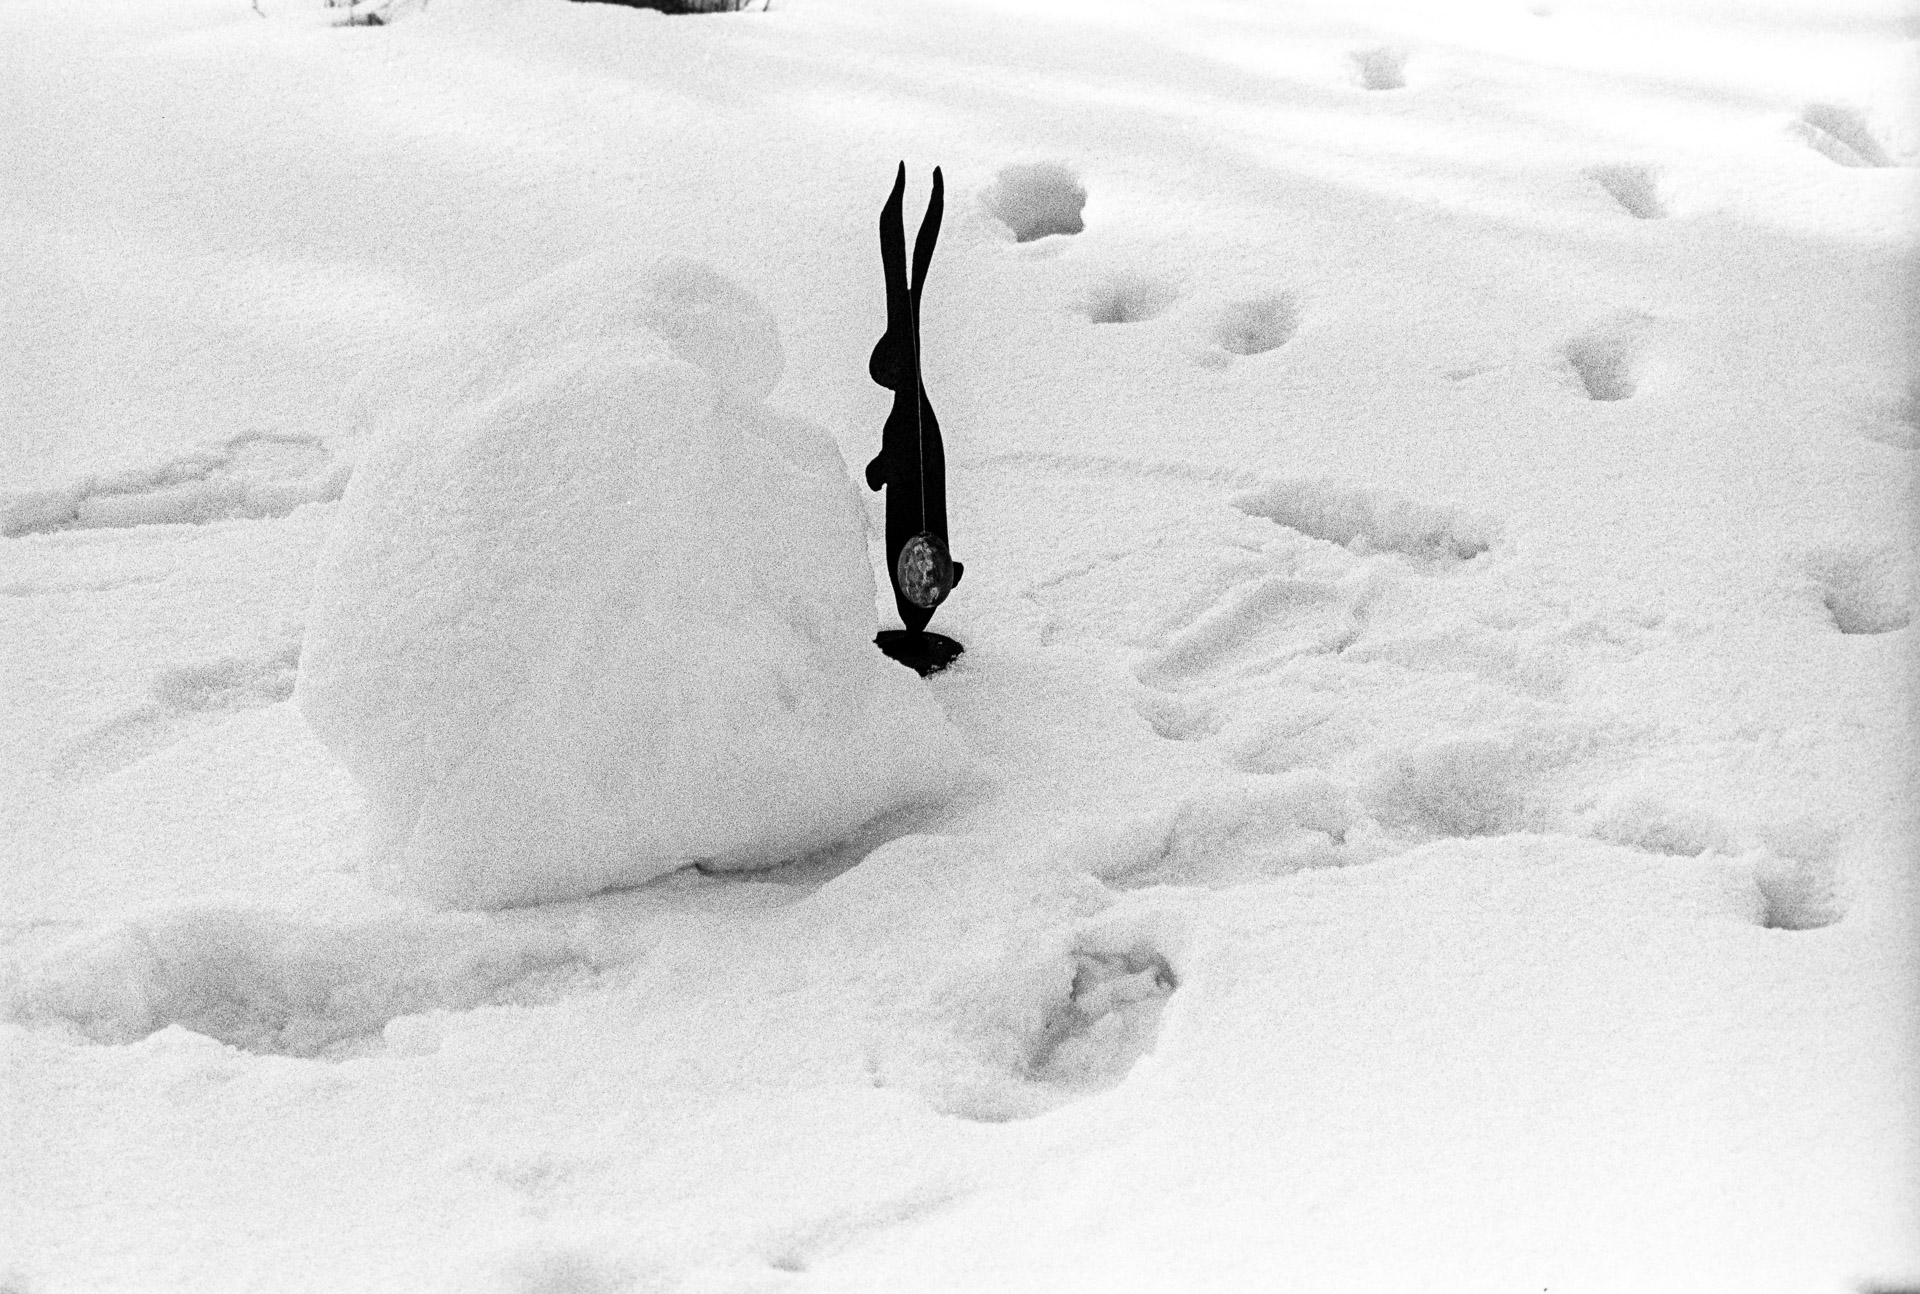
Hide and seek with easter eggs in the snow. Shot on TMAX400 at 1600.
What makes the Darss special is its great diversity in landscapes. First, there is the “Weststrand”, which translates to western beach. The Weststrand is rough and windy with sometimes large waves, swell.
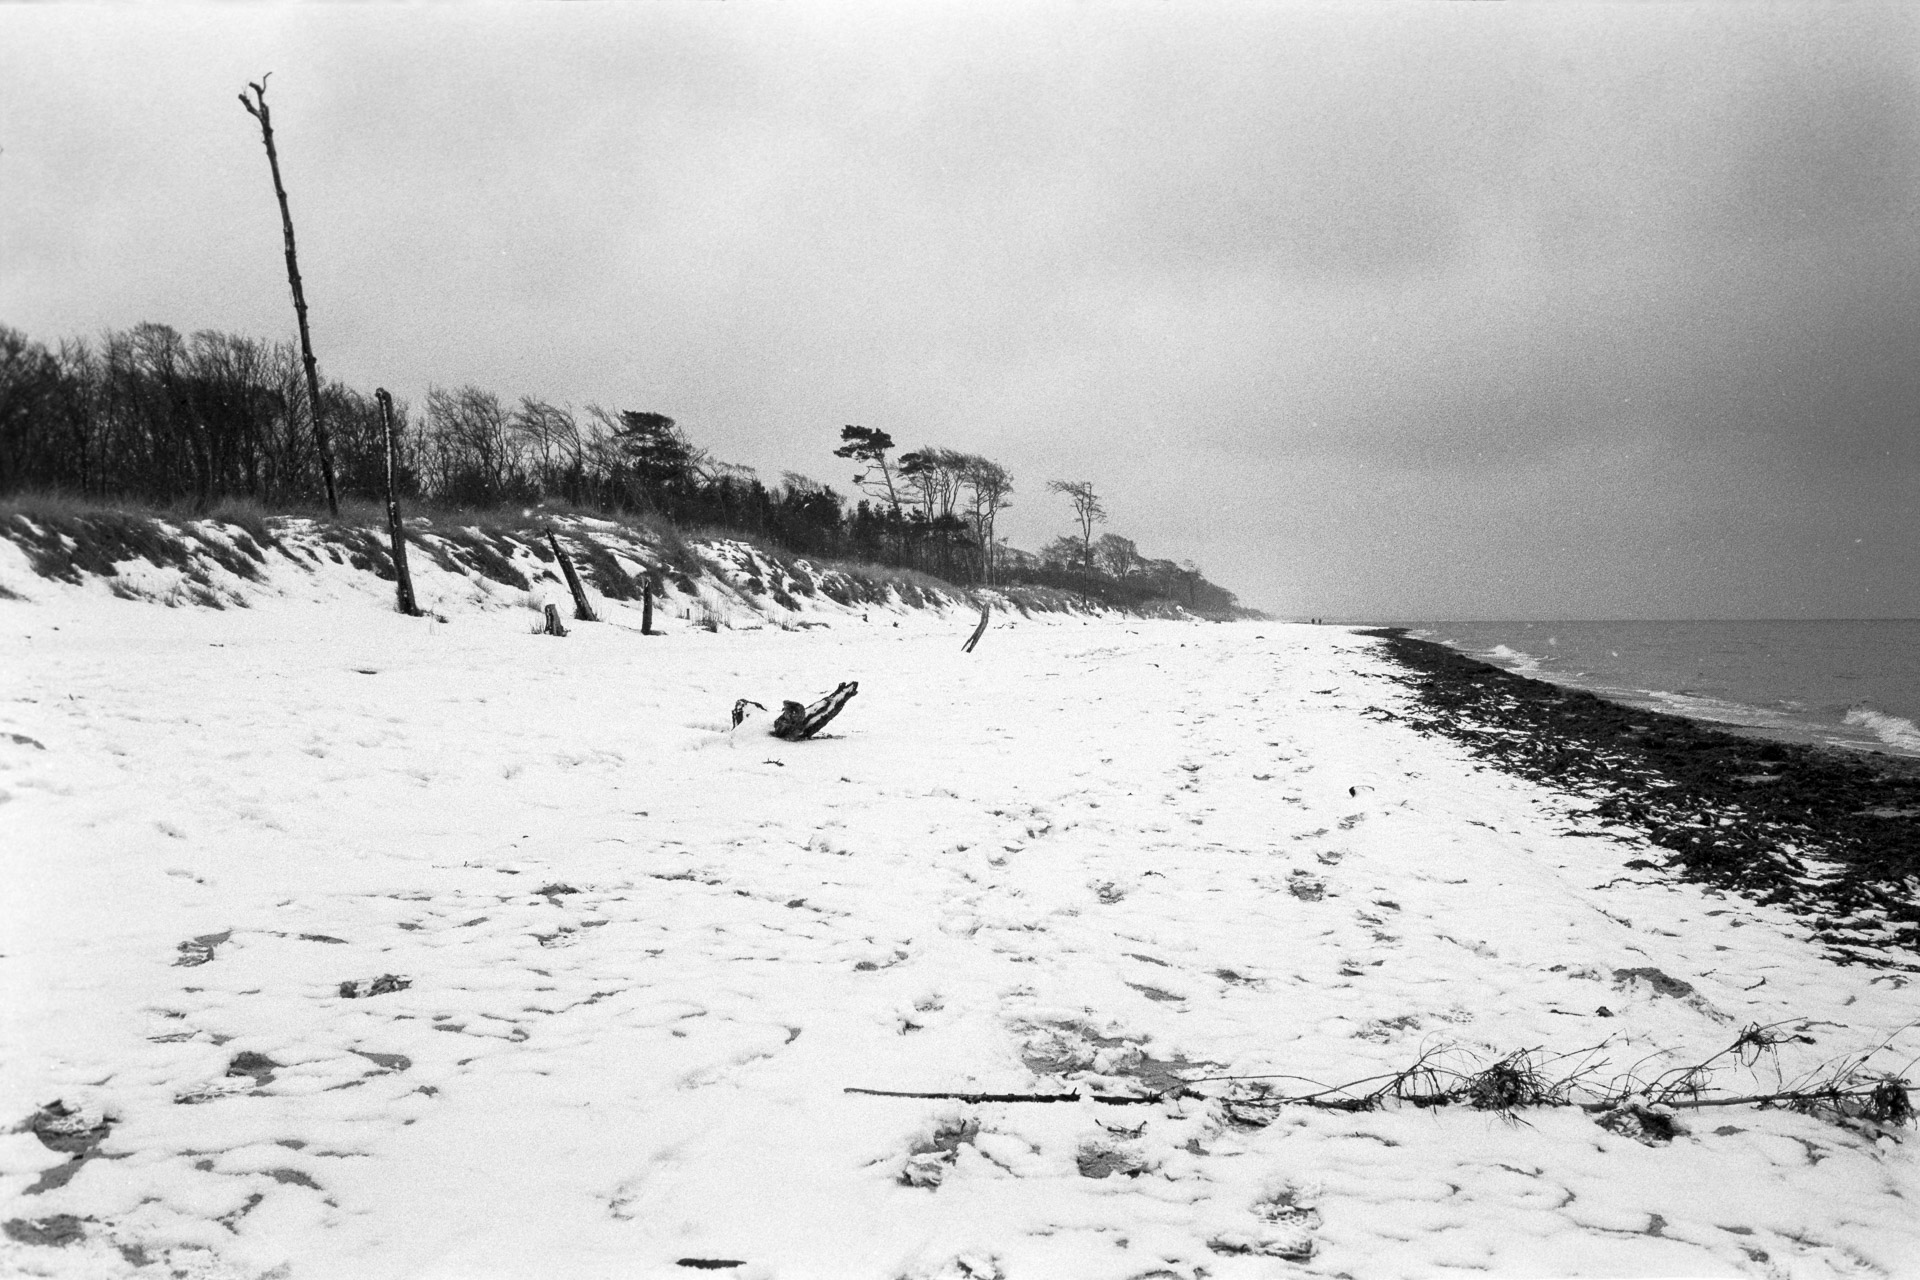
The “Weststrand” on the Darss. Translates to western beach. The wind shapes the trees. Shot on TMAX400.
Every year, the sea robs parts of the beach and it continuously shrinks.
Going into the New
Year, 2019, most people have a bit of down-time at home. Usually, a New Year
Clean-up is in order. So why not extend this habit to your film photography
library? If you do, I have some thoughts to offer on how I organise my scanned
film photography library.
The topic of part 2
of this series is about what happens to negatives as soon as they are scanned.
Part 1 was about how
I scan my negatives, you can read it here.
Film Numbering
Generally after I
develop my film I try to scan it as quickly as possible, however that is not
always possible due to the lack of constant scanner access. As general naming
conventions for my films, I label each roll of film I shoot sequentially. That
means that my first roll of is called FILMNR1 or 1, second is FILMNR2 or 2 and
so on. Of course, that doesn’t work perfectly as I might shoot with 2-3 cameras
at the same time. So the counter is just a rough indication of sequentiallity.
The assigned counter is per film type, so there will be one FILMNR1 for 35mm
film, one FILMNR1 for medium format film, which I would call FILM66NR1 (for
6×6) and one FILMNR1 for large format film.
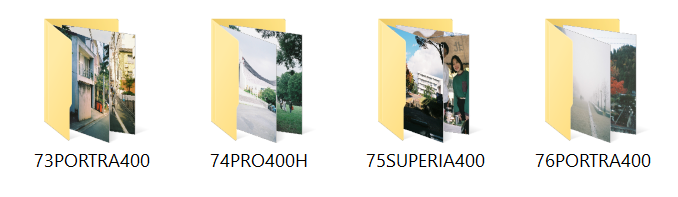
Folder Names
After scanning my negatives film by film, I copy the pictures to my own computer. You can read more on the scanning process itself on this post: Part 1. I will file all pictures from one film into a single folder dedicated to that roll of film and name it like this: $FILM#:$FILMTYPE:$FILMSPEED, so for example “2PORTRA400”. That indicates that it is FILMNR2 and the film type is is Kodak Portra 400. For pushed film, I would call the folder “4TRIX400AT1600”.
File Names
Inside the folder, I
will rename all files to a combination of the film number, a sequential number
and the brand of scanner used. The name will be:
$FILMNR_$IMAGENUMBER_$SCANNERBRAND, so for example:
“NR33_IMG02_nikon.tif”. So that is the second shot on film number 33
scanned by a Nikon scanner. While the index on negatives often starts before 1,
I will still label the first image as “1” so that counting the
negatives to determine the correct image is possible without having to read the
tiny numbers on the negative itself. The reason for putting the film number
first and following with the image number is simple: when importing the film
into Adobe Lightroom or any other program, you can get a nice chronological
order of images simply by sorting by name. I do that because the “capture
time” metadata sorting is mostly useless for film scans, as it depends on
when the image was scanned rather than taken.
Post Processing
After I numbered the
film, put the files into the correct folders and named the files aptly, I will
process the files. This is just basic processing but it makes sense to do
before importing it further into Lightroom or other library management
programs. Usually, I will open all images in the folder in Photoshop to do
three things: 1. crop the image to the correct aspect ratio, 2. rotate the
image, and 3. remove any scratches/dust from the negatives. Usually I save the
files as TIF, although I have also experimented with scanner native digital
negative formats like .NEF files for Nikon scanners, but came to the conclusion
that they provide little benefit (smaller file size) while being a
significantly larger pain in the ass to handle.
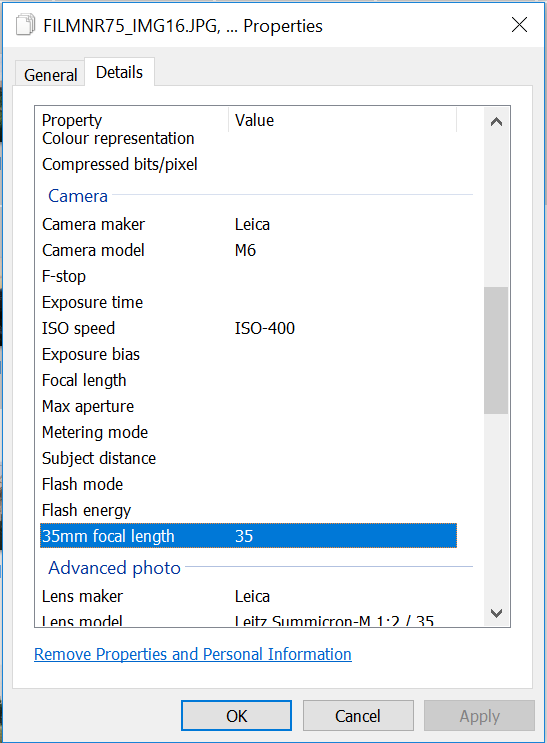
Adding Metadata
Then, I will add the
appropriate metadata to each picture. I usually do that directly in Windows
Explorer which works well enough, although there might be tools better for the
job. I simply select all pictures in a folder, right click and then go to “Properties”->”Details”
where I’m able to edit/add metadata. The metadata I add is the camera I took
the picture with, lens & focal length (if I remember – wrong metadata is
worse than missing metadata), the film ISO and the camera/lens serial number (you never know…). Last, I will add
certain keywords:
The film number in the format FILMNR2 or FILM66NR2 for medium format film
The year, season, and country in which the picture was taken
The scanner name which was used to scan the negative
The film name and type in long and short form, e.g. “PORTRA400” and “Kodak Portra 400”
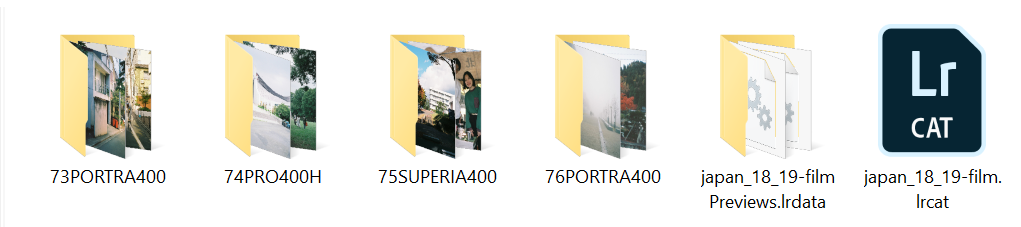
Storing the Images
To organise, edit,
and export my pictures I personally use Lightroom so the last step of this
workflow will largely depend on which (or if you do at all) picture catalogue
program you use. Because my laptop SSD is small, I don’t have one huge
Lightroom catalogue but many small ones. Generally, I create one catalogue per
event: e.g. vienna_16 for a trip to Vienna in 2016, and general catalogues per
year: e.g. if I live in Berlin I’d call it berlin_17 and include all pictures
taken in and around Berlin in 2017 in it. That allows me to selectively move
Lightroom catalogues to an external disk or move it back to my computer for
more speed when I know I will be using that picture set a lot. Sometimes
if I know that I’ll be mostly doing culling/basic editing only and don’t want
to take my HDD with me, I will create Smart Previews of all pictures in one
catalogue and then move the original image files to the HDD to save space.
I organise
the picture files in the Lightroom catalogues in folders. As one roll of
film may be split over multiple Lightroom catalogues, I will create a
subfolder, following the previously explained naming convention, in each
relevant Lightroom catalogue. For example, the “vienna_16” catalogue
will contain folders such as “2PORTRA400” and
“4TRIX400AT1600” with the pictures from those films taken in Vienna
and the “berlin_17” catalogue will also contain the folders
“2PORTRA400” and “4TRIX400AT1600” with the pictures from
those films taken in Berlin.
Keeping an Overview
of all Rolls of Film
Now, to come back to
the actual negatives, I track all my shot rolls of film in an Excel sheet. As
my actual negatives are stored all over the place I want to keep track where
they actually are, should I even need to rescan a file. Or of course view some
positives on a dia projector. That way I also know what my most recent film
number is when I don’t have access to all films, as I might not have my HDD
with me. In the same Excel file on different sheets I also track all my owned
cameras with their lenses, serial numbers etc, which makes it easy to just copy
and paste that data into the metadata fields in Windows Explorer.
The next topic I
want to write about will be about file backups. Stay tuned 🙂
In this series, I want to describe and share how I handle my physical pictures and scan and store them digitally.
Part 1 will be about the scanning process itself and part 2 about storing and categorising the files.
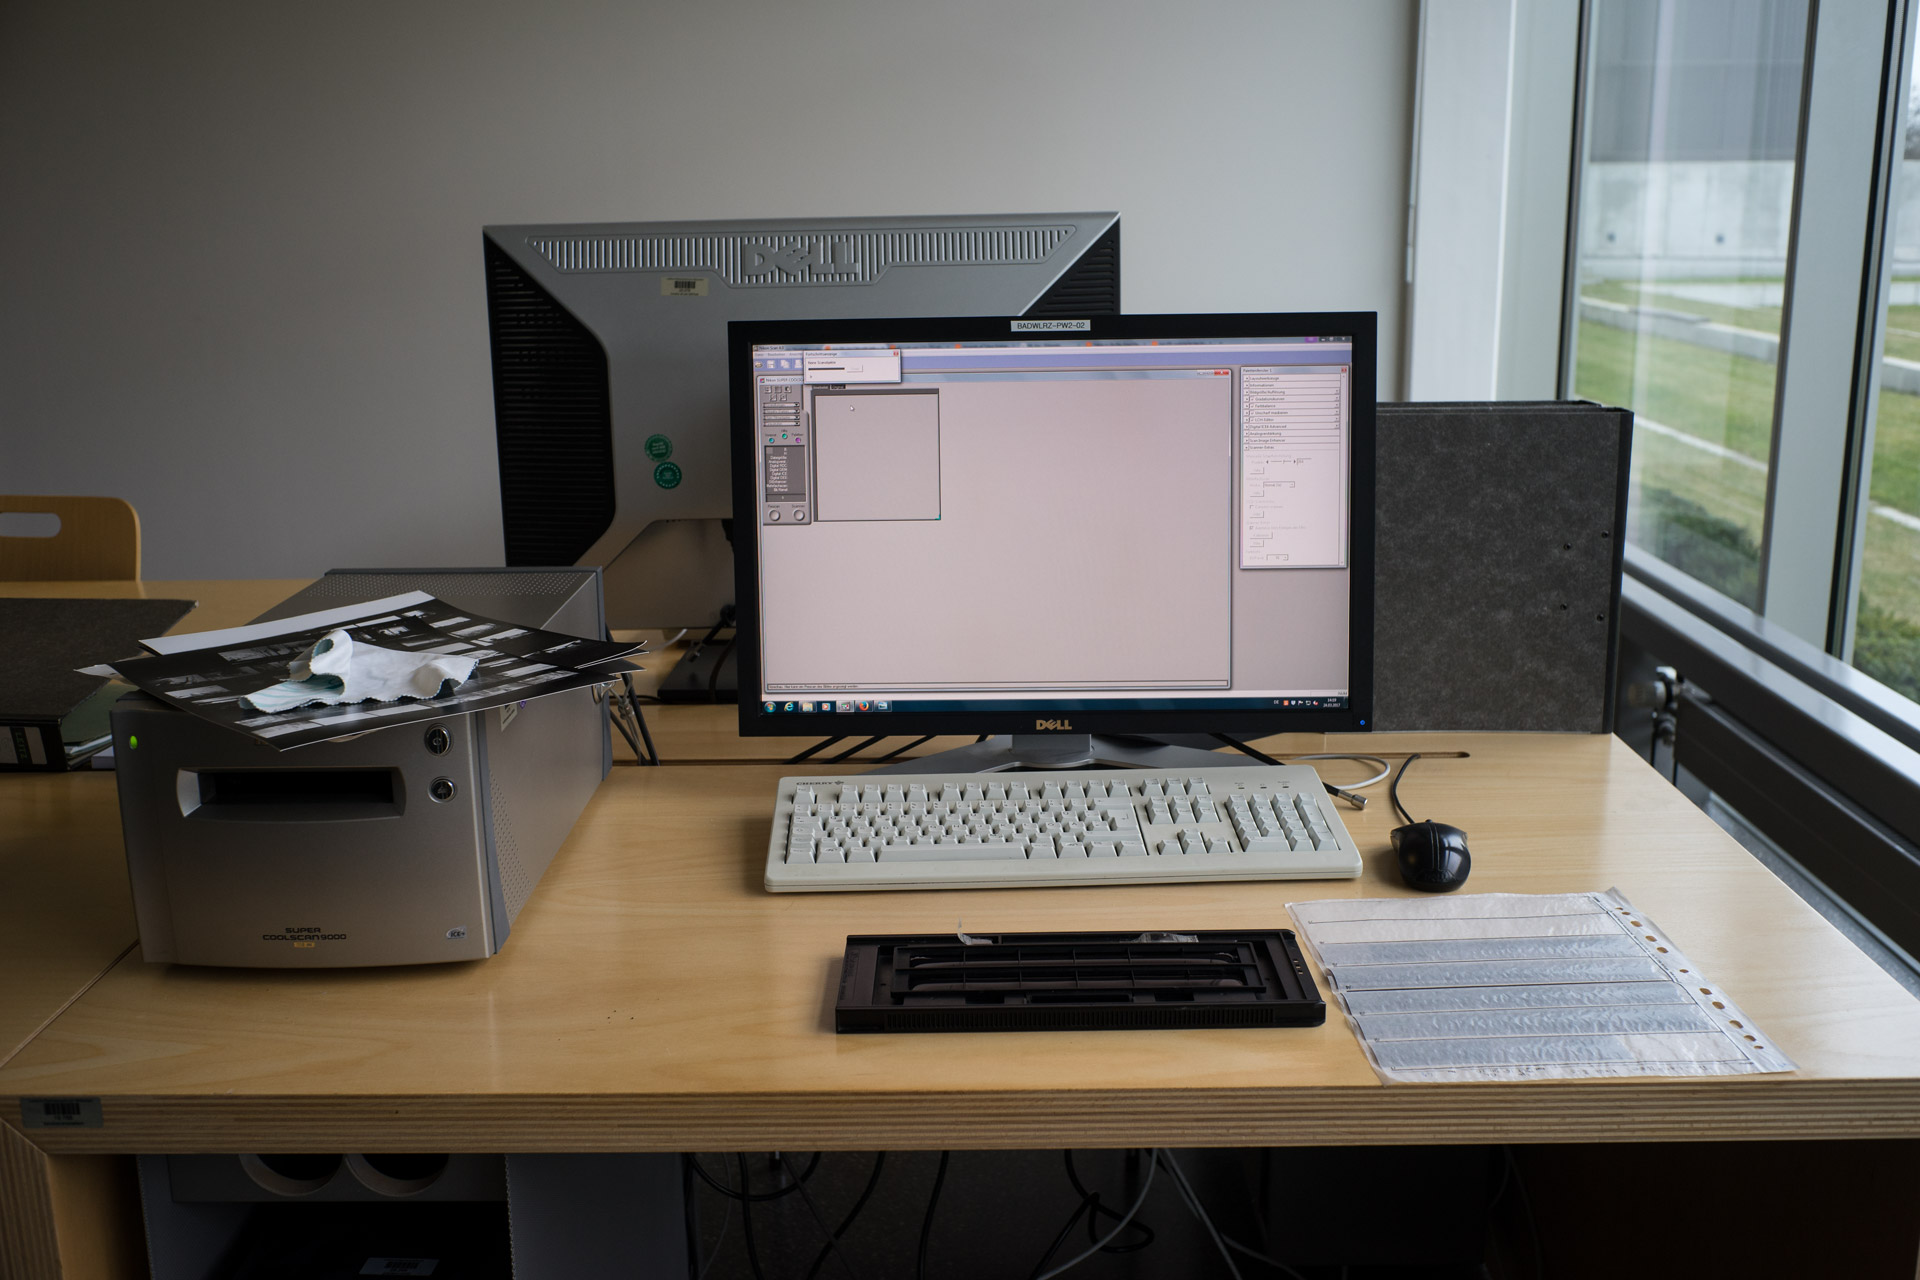
The scanner
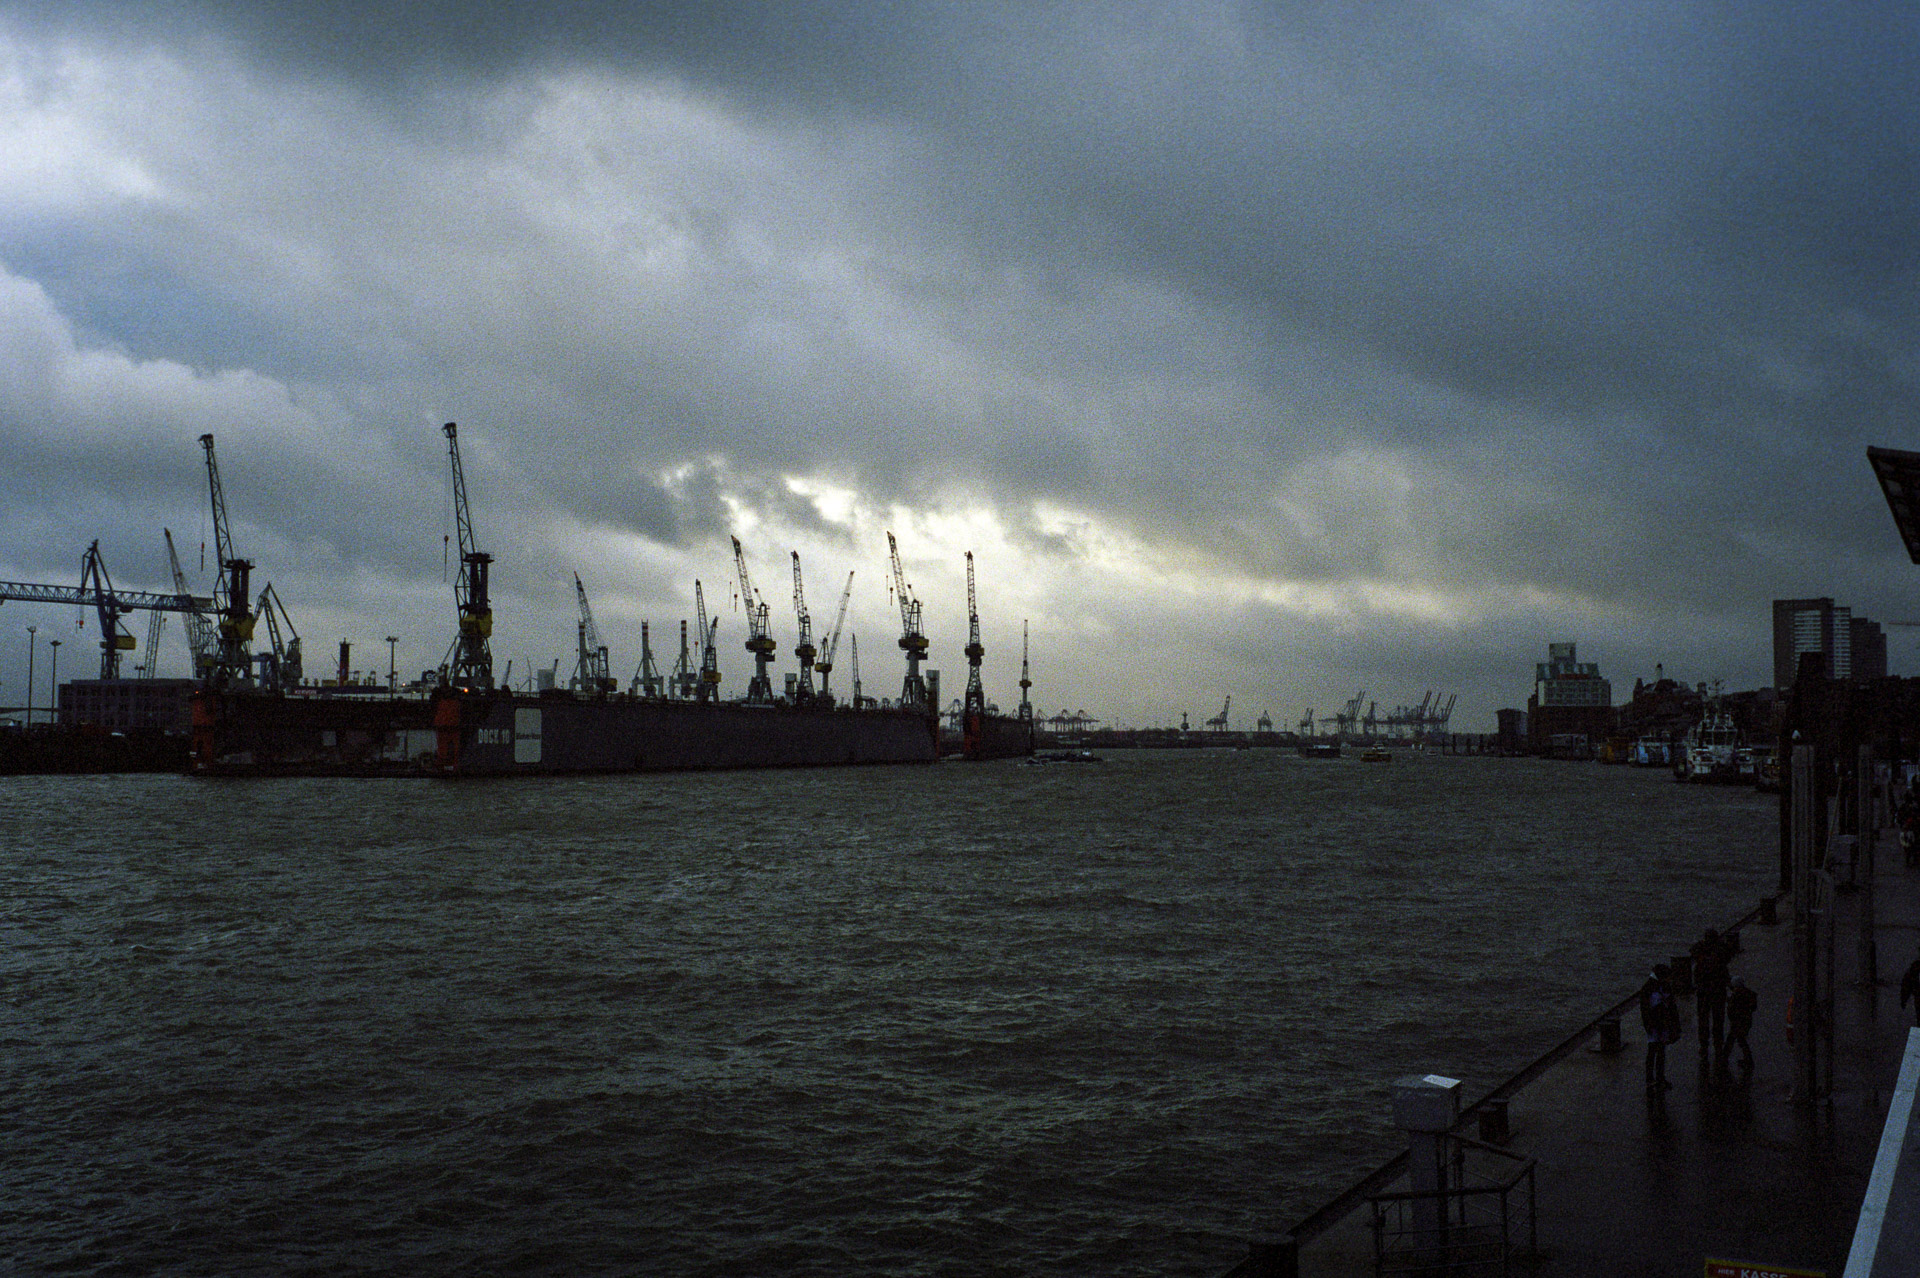
I’m fortunate enough that I have access to a film scanner at the school I’m studying at. Actually, I have only once seen someone else use it, so I live in constant fear that they will get rid of it… The scanner is a Nikon Coolscan 9000 ED, which is kind of old but still produces incredibly good looking scans. However, lately it seems to have developed a problem when dealing with large solid colour areas, which appear to have vertical stripes across them (in the form of slight but noticeable luminance variations). That issue is very annoying and not easily fixable in post unfortunately. Apparently I am not the only one with the problem but as it is not my scanner I cannot do anything about it…
Here, the vertical stripes a clearly visible in the sky – even though the sky colour is not very even. – Olympus XA, Kodak Portra 800
Hello! It’s time for a blog post again 🙂 I though a lot about what to write about, while scrolling through my Lightroom libraries. Trying to find a pattern in ones images to create a coherent set of pictures is no easy task and I am not good at it.. In the upcoming months there will be posts about my workflow handling film, scanning film and so on.
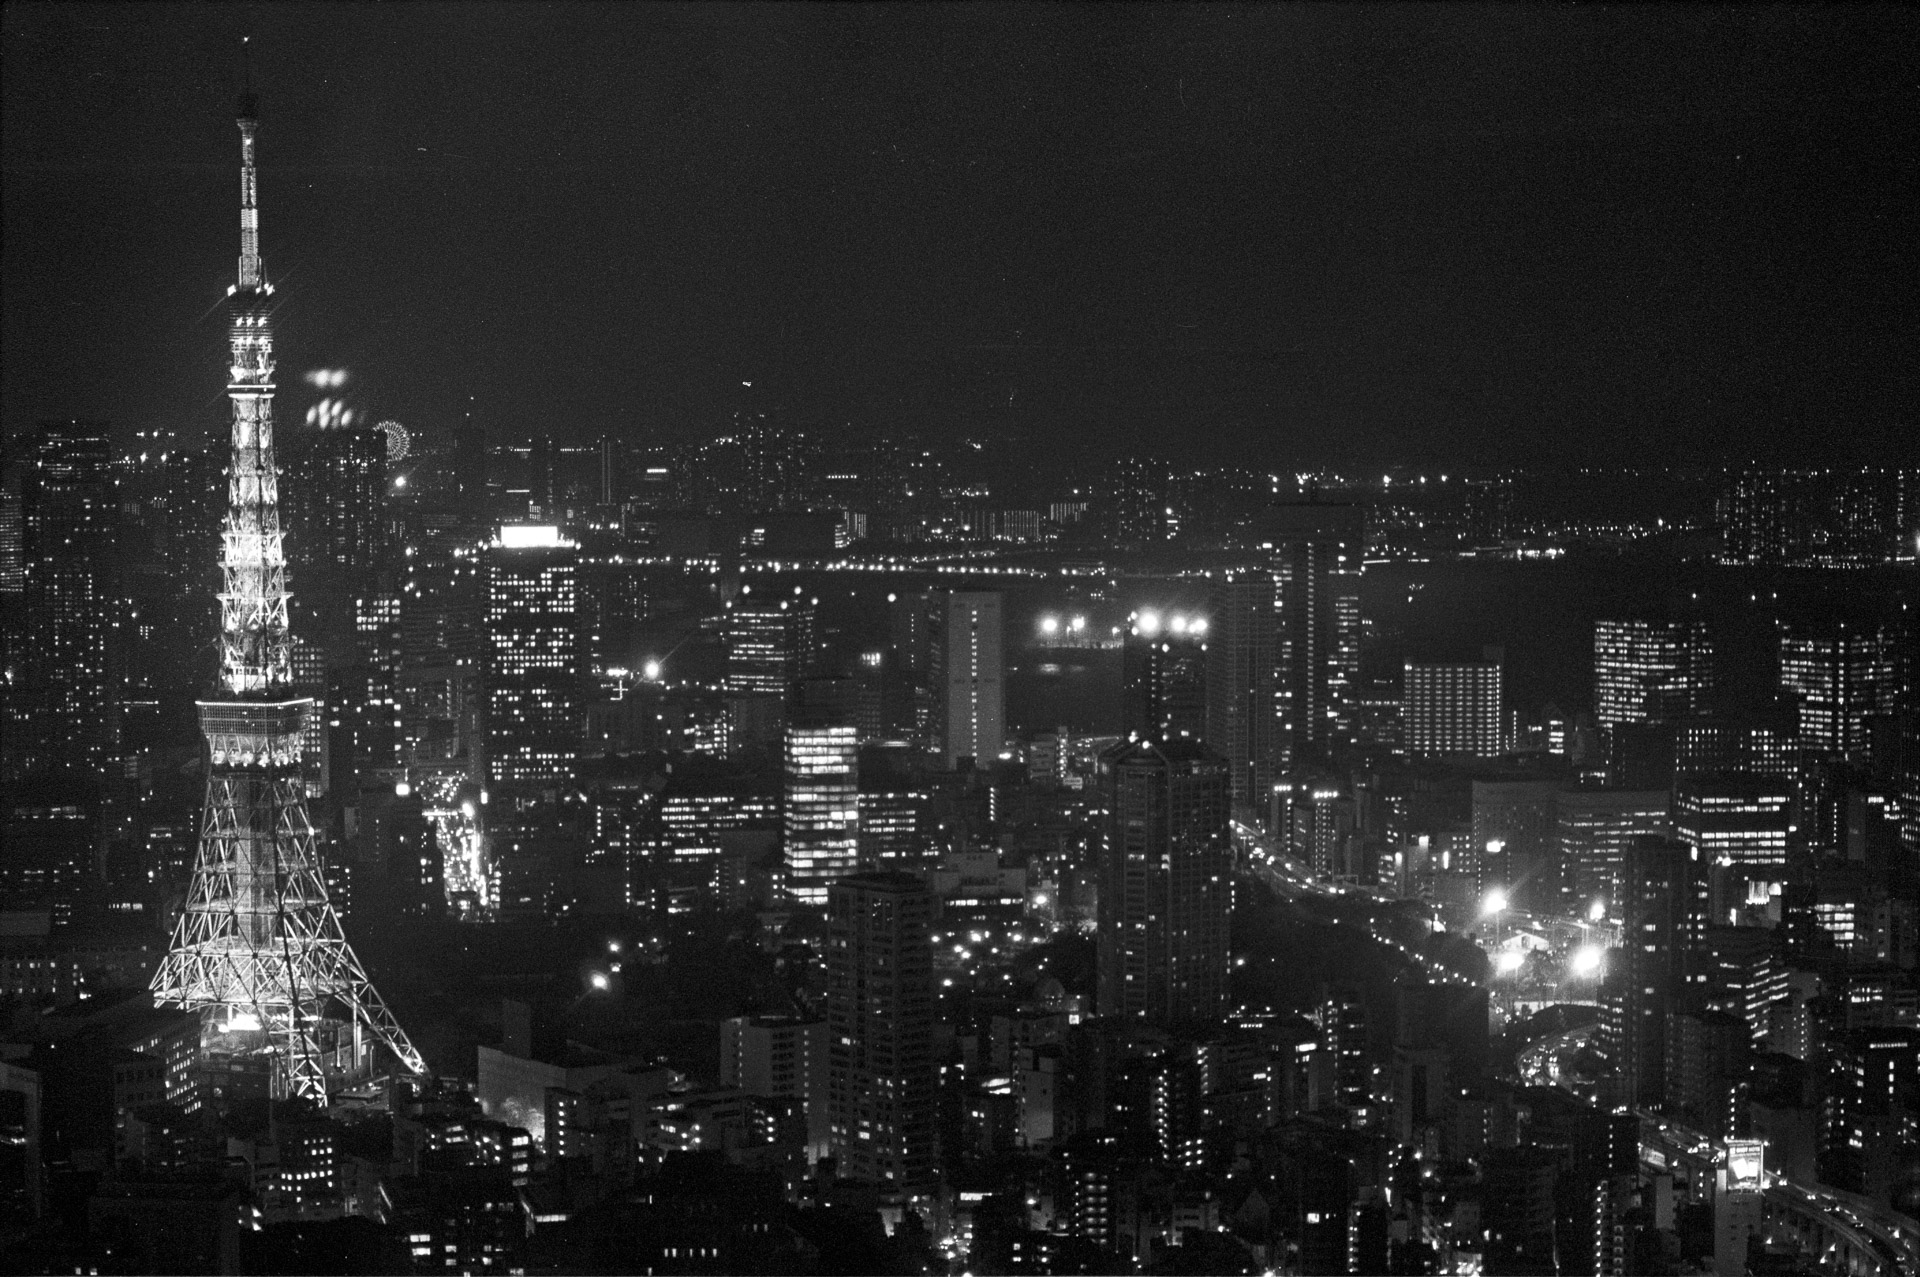
However, seeing as Daniel just moved to Tokyo to complete an internship, I looked through my film pictures of Japan, where I started off with film photography!
I took most of the following during a walk around the Akabane area of Tokyo. I was 19 at that time, and, looking back now everything seemed incredibly novel at that time. I can still remember how I basically had to take pictures of a lot of things, just because they seemed to be so different from what I was used to seeing in Germany.
The city of Hamburg has been build next to the river Elbe and has begun to sprawl across and around it. Therefore, it came to offer a many views of the river famous for water flowing upstream.
Hello World again? It’s been some time, but here is finally Blog post #2!
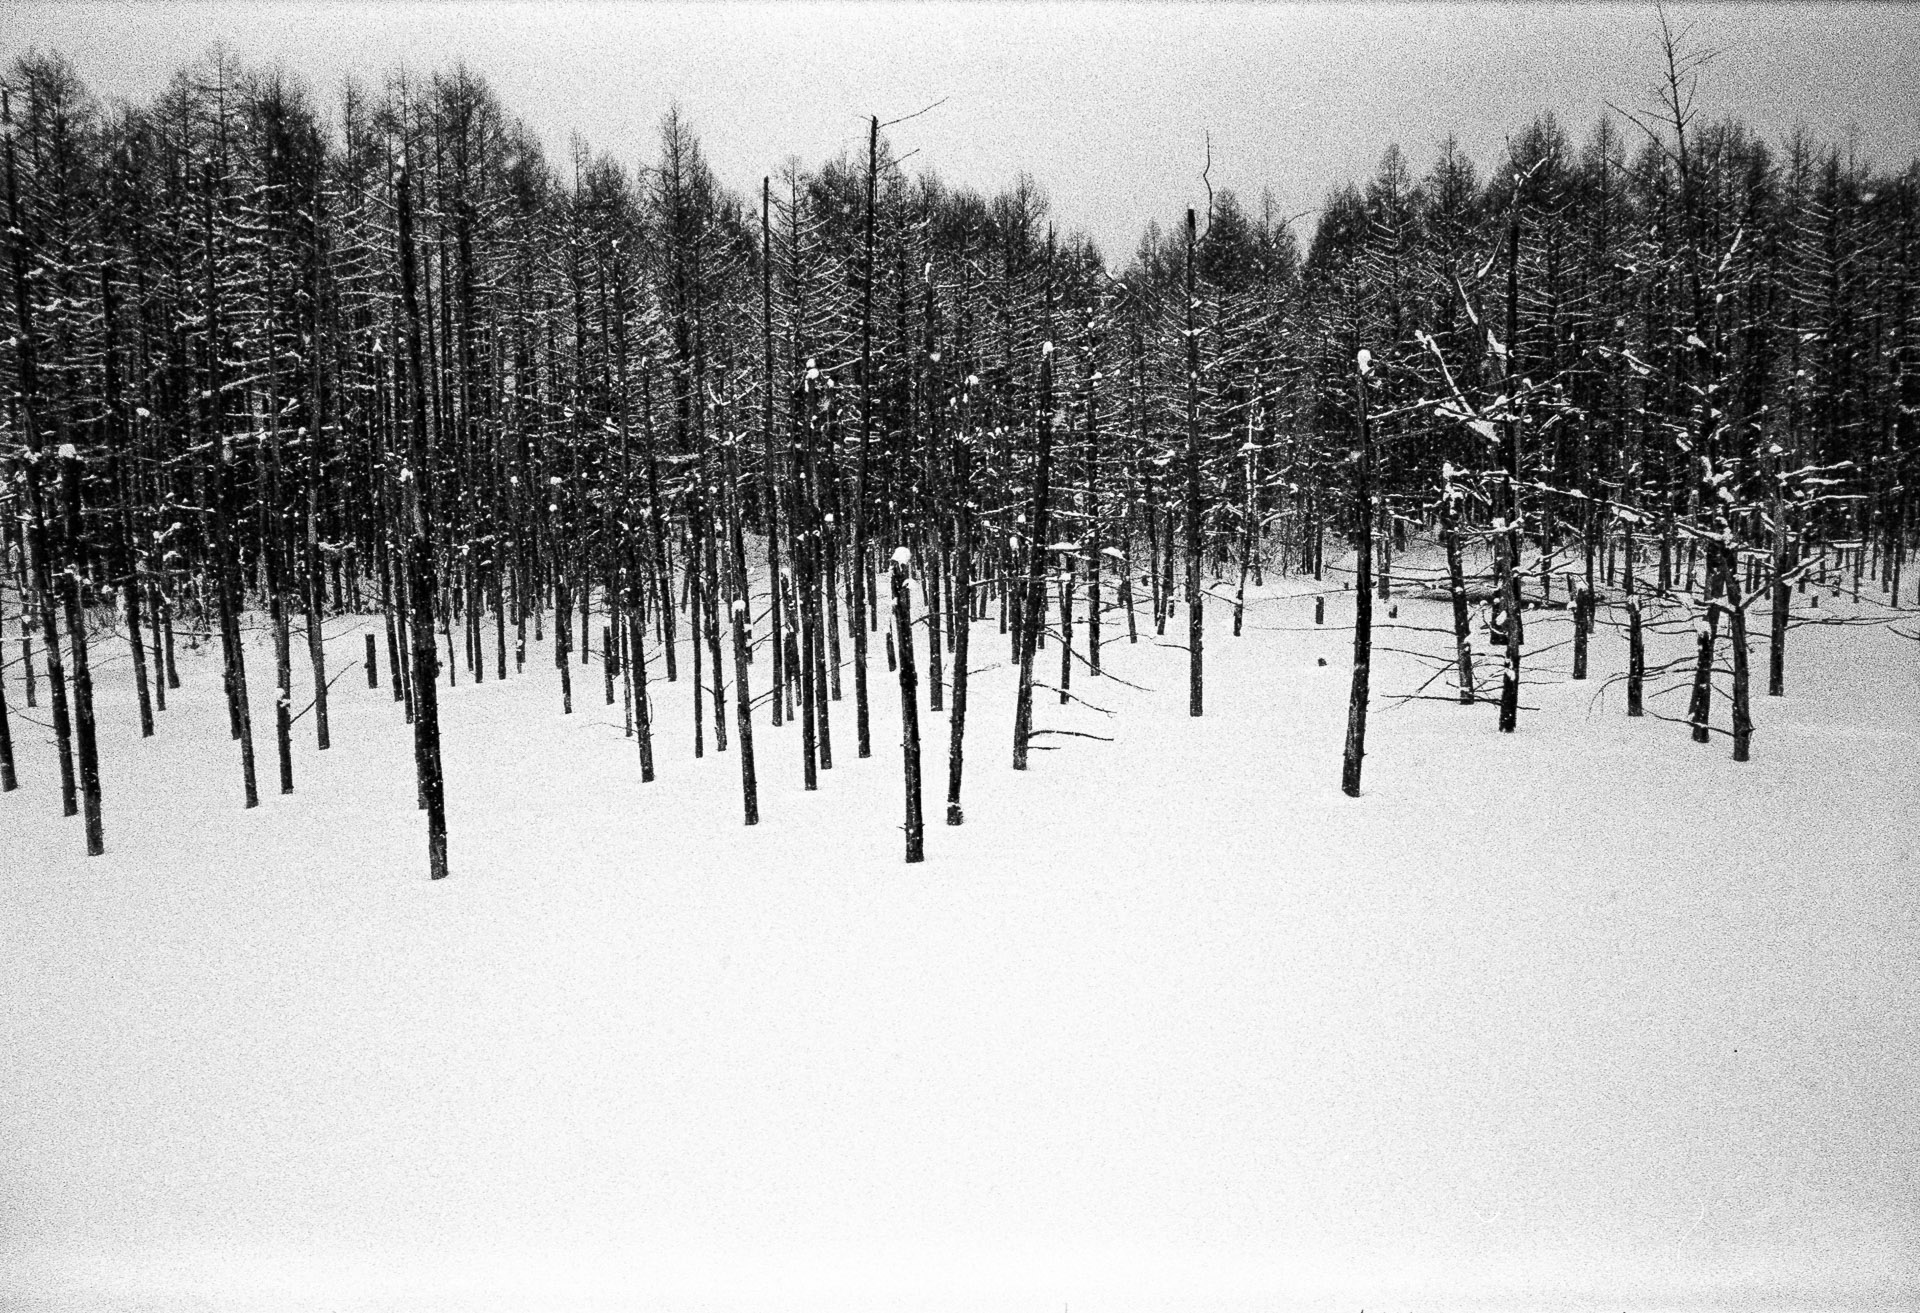
I like Tri-X at 1600! And what works better with my contrasty friend than trees in winter? So here is some cool down for you during the hot summer times.
Aoiike (青い池), the blue pond near Shirogane Onsen in Biei, Hokkaido, Japan. You probably know the place from the famous Mac wallpaper. While we were there it was decidedly colder and the usually blue water was frozen and covered with fresh snow.
Aoiike, the Blue Pond – Kodak Tri-X@1600 – Canon Sureshot Max – Pakon F135+
This is Nimar and Daniel’s photography blog: Very Negative.
As the name suggests, we will focus on analog photography and the whole process around it. We started this blog to show the beauty of the medium film and to challenge ourselves to become better photographers. Besides showing our work, we also want to write about different cameras, developing film, darkroom and scanning techniques and about the whole analog workflow in general. (more…)